
Football Ball Pressure Guide: Without a Gauge Method
This post contains affiliate links. As an Amazon Associate, we earn from qualifying purchases.
The correct pressure for a football is between 0.6 and 1.1 bar (8.5–15.6 PSI) at sea level, as set by the International Football Association Board (IFAB). The specific value within that range depends on the ball’s markings, the playing surface, and personal feel, but common test pressures for certification, such as those used by the FIFA Quality Programme and the International Matchball Standard (IMS) for outdoor balls, are often 0.8 bar.
That legal range is a permission, not a prescription. Your ball’s valve will have a narrower recommendation, and a cold afternoon can drop that number below the legal minimum without a single leak. This is where a simple pump job meets the physics of the game, and a guide based on the IFAB’s 0.6–1.1 bar range and the manufacturer’s specific recommendation is essential.
What follows: the official law, the manufacturer’s fine print, the tools that stop you guessing, and the one mistake that shortens a ball’s life by seasons.
Key Takeaways
- The IFAB legal range is 0.6–1.1 bar (8.5–15.6 PSI), any pressure within this is match-legal.
- Mitre advises inflating to the lower end of the range printed near the valve for durability.
- You must use a pressure gauge; the bounce test is unreliable and varies wildly with temperature and ball construction.
- Cold weather drops pressure significantly, Cold weather drops pressure significantly; a ball filled at room temperature can fall below the legal minimum when cooled, purely by the laws of physics.
- Clean the valve with glycerine, never oil, to fix slow leaks and ensure a seal after inflation.
The Official Pressure Range: 0.6–1.1 Bar
The International Football Association Board (IFAB) is clear. Law 2 states a match ball must have “a pressure equal to 0.6–1.1 atmosphere (600–1,100 g/cm²) at sea level (8.5lbs/sq in–15.6 lbs/sq in).”
That is the entire rule. Any pressure inside that window is legal for play.
The pressure value at which the ball is tested must be within the range indicated on the ball. FIFA recommends indicating a specific pressure value and to test at that value or to indicate a 0.2 bar range and testing at the median value.
But here is the first gap most guides miss: certification testing uses a narrower, fixed point. For a Size 5 outdoor ball to earn a FIFA Quality Pro certification, the lab tests it at a nominal 0.8 bar ± 0.01. The International Matchball Standard (IMS) also uses 0.8 bar for its Size 5 criteria. So the law says 0.6–1.1, but the quality stamp is awarded at 0.8.
| Standard | Legal Playing Range | Standard Test Pressure | Purpose |
|---|---|---|---|
| IFAB Law 2 | 0.6 – 1.1 bar | Not applicable | Defines what is permissible in any match. |
| FIFA Quality Programme | Must be within IFAB range | 0.8 bar (±0.01) | Laboratory certification for top-level match balls. |
| IMS (International Matchball Standard) | Must be within IFAB range | 0.8 bar | Certification for balls used in FIFA/confederation matches. |
Why the difference? The test needs a repeatable condition to measure sphericity, rebound, and pressure loss accurately. Your Saturday morning kickabout does not. This is the core of the pressure question a football ball pressure guide answers: the law sets the boundaries, the test sets a benchmark, and your pump sets the feel.
Why The Right Pressure Actually Matters
A football has one job: to behave predictably. Pressure is the variable that changes everything else.
An over-inflated ball is hard and fast. It pings off your foot, skids on the turf, and makes controlling a driven pass an adventure. It also stresses the seams and lining. Mitre’s guide, a key football ball pressure guide, warns that “excessive pressure can easily damage the stitches and cause the ball to lose its shape.” That damage is cumulative, each over-inflation weakens the structure.
An under-inflated ball is slow and dead. It won’t travel cleanly, doesn’t bounce truly, and requires more force to kick any distance. On a wet surface, it becomes a waterlogged sponge. The Guide to Football notes that a ball must “keep its pressure as the game goes on” to ensure fairness.
The sweet spot gives you a firm, responsive touch. A well-pressurized ball comes off the laces with a solid thump, holds its line in the air, and settles quickly. It feels alive without being unruly.
The Tools You Actually Need
You cannot do this by ear or by thumb. The “bounce test” is folklore, a cold, hard pitch makes any ball bounce lower, and a soft, sandy one makes it bounce higher. You need a gauge.
- A Pressure Gauge: A dedicated football gauge with a needle, or a pump with a built-in dial. The CECOM application note for quality control uses a precise gauge; you don’t need lab grade, but you need more than a vague pointer.
- A Pump: A hand pump with the right needle. Avoid rapid, high-volume pumps; a slow, steady stroke allows the bladder to take shape evenly. Our rundown of the best soccer ball pumps breaks down the types.
- Glycerine: Not oil, not saliva. Pure glycerine. It lubricates the needle, cleans the valve, and helps form an airtight seal. Mitre is explicit: “Never use mineral oils… as they contain detergents harmful to rubber.”
Storing these together in your kit bag takes the guesswork out of pre-match prep. A five-second check beats twenty minutes of debate.
The Step-by-Step Inflation Guide
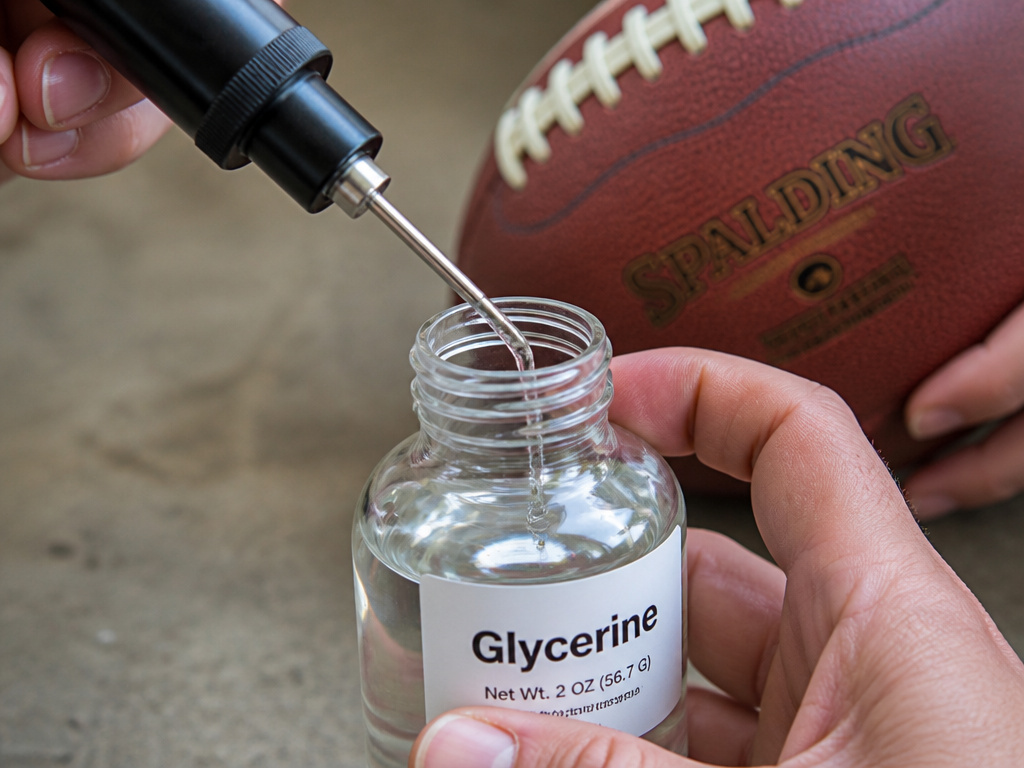
Follow this sequence and you avoid the common pitfalls that lead to leaks, trapped bladders, and wobbling flight.
Before you start: Unfold the ball and give it a shake. You should hear the bladder rattle inside freely. If it’s stuck, a few firm bounces while deflated will usually loosen it.
- Moisten the needle. Dip the pump needle into a small bottle of glycerine. A thin coat is enough, you’re lubricating, not drenching.
- Insert straight into the valve. Push gently, rotating the needle left and right. Don’t force it. A crooked insertion can damage the valve stem and cause a permanent leak.
- Inflate slowly. Pump in short, steady strokes. Watch the ball expand evenly. Rapid inflation can trap the bladder against the casing, creating a permanent lump.
- Check early, check often. After a few pumps, disconnect and use your gauge. Aim for the lower end of the range printed by the valve (e.g., if it says 0.8–1.0 bar, target 0.85).
- Seat the valve. Once at pressure, remove the needle and gently wipe a tiny bit of glycerine around the valve exterior with your finger. This keeps the rubber supple and the seal tight.
Common mistake: Inflating to the maximum printed value. Mitre advises the lower end for a reason, it leaves headroom for pressure increase on a hot day and reduces stress on the seams.
If you overshoot, let air out immediately. A ball left at high pressure, even in storage, begins to deform.
Pressure By Ball Type and Size
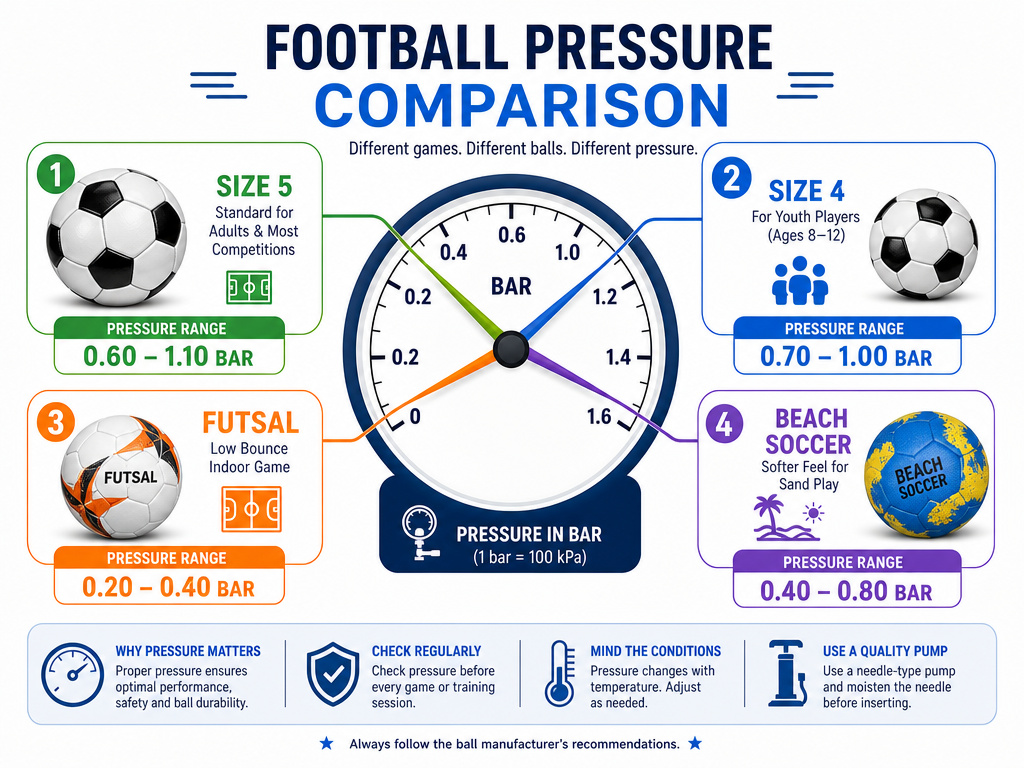
Not all footballs are inflated equally. The IFAB range is for Size 5 outdoor balls. Shift the type, and the specs change.
| Ball Type | Standard Size | Typical Pressure Range | Key Difference |
|---|---|---|---|
| Size 5 (Adult Match) | 68–70 cm circumference | 0.6 – 1.1 bar | The default. Pressure choice here is about feel. |
| Size 4 (Youth) | 63.5–66 cm | 0.6 – 1.0 bar | Softer feel for younger players, often run at lower pressures. |
| Futsal | 62–64 cm | 0.6 – 0.9 bar | Lower pressure for reduced bounce on hard courts. |
| Beach Soccer | 68–70 cm | 0.4 – 0.6 bar | Softer for barefoot play and sand surface. |
The futsal ball vs football ball difference is critical. Pumping a futsal ball to 0.9 bar makes it unplayably bouncy for the indoor game. Always check the ball’s own stamp first, it overrides general guides. Our football sizes article has the full breakdown.
When Things Go Wrong: Leaks, Cold Snaps, and Pro Preferences
The theory is clean. The actual conditions involve mud, cold, and valves clogged with grit.
- The ball won’t hold air. Before you assume a puncture, clean the valve. Dip the needle in glycerine, insert it, and gently rotate it in a small circle, moving it up and down. Often, dirt is blocking the seal. If it still leaks, you’re looking at a bladder repair or replacement, our guide on how to fix a football that loses air walks through the steps.
- Pressure drops in the cold. This isn’t a leak. The ideal gas law shows that a ball filled with room-temperature air to the legal minimum can drop below that minimum when cooled, purely by the laws of physics. For a cold-weather match, inflate the ball at pitchside, or accept you’ll need to top it up.
- Pros ignore the “lower end” advice. At the highest level of the game, consistency is king. Many teams pick a specific, often firmer pressure within the legal range (say, 1.0 bar) and stick to it for every training session and match. They want the exact same response every time. For them, the manufacturer’s durability tip is less important than tactile predictability.
How to Check Pressure Without a Gauge (The Last Resort)
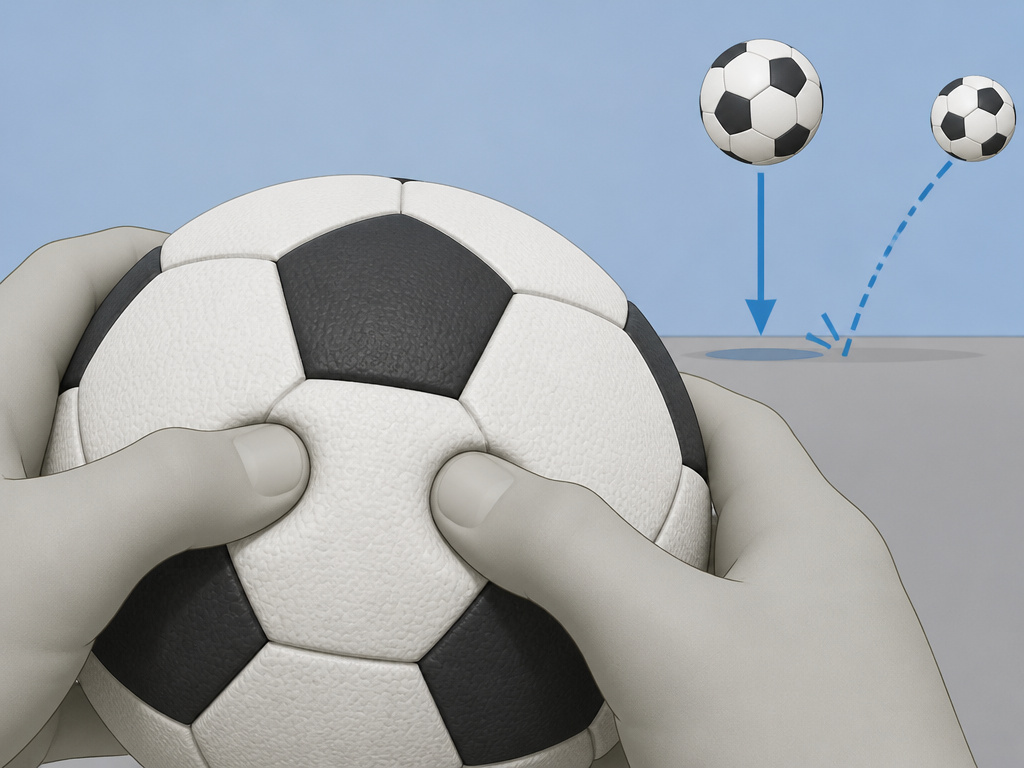
You’ve lost your gauge. The match starts in five minutes. Here’s the fallback method, with its hefty caveats.
Press your thumbs into the ball’s surface. You should be able to depress it slightly with moderate force. It should feel firm but not rock-hard. Now, drop it from a consistent height onto a dry, flat surface. Observe the rebound, but note this is unreliable as bounce varies with ball construction and temperature.
I will admit, this is wildly unreliable. A brand-new, thermally bonded FIFA Quality Pro ball will bounce higher than a worn, stitched training ball at the same pressure. Cold air makes the bounce lower; a hard surface makes it higher. Use this method only to catch a grossly under-inflated ball, never to set a precise pressure.
What Pressure Do Professional Leagues Use
Official competitions like MLS must follow IFAB laws, which allow match pressure between 0.6 and 1.1 bar (8.5–15.6 psi). Balls used in these competitions must also bear a FIFA Quality Programme mark. While the law provides a wide range, quality testing for certification often uses a fixed benchmark of 0.8 bar for outdoor balls. In practice, professional teams select a specific pressure within the legal range, often preferring a higher, consistent feel for flight and control. The exact number used by a specific league is not mandated by the laws, so it falls within this broad permissible band.
How to Deflate a Football
To safely reduce a ball’s pressure, you will need a pump with an inflation needle. Gently insert the needle into the ball’s valve. If you have exceeded the recommended pressure, immediately release air in short bursts. Check the pressure frequently with a gauge until it reaches the desired level, which is typically the lower end of the range printed near the valve. Never use sharp objects or force that could damage the valve. After adjusting, store the ball at a reduced pressure in a dry place at room temperature to maintain its condition.
Frequently Asked Questions
What is the recommended pressure for a football?
The IFAB recommends a range of 0.6–1.1 bar (8.5–15.6 PSI). The manufacturer recommends a specific value or a narrower range printed near the valve, follow that. For a standard Size 5 match ball with no other markings, 0.8 bar is the standard testing pressure and a good starting point.
What PSI do I inflate a size 4 soccer ball to?
Size 4 ball will have a recommended range printed on it; always follow the manufacturer’s marking. Inflate to the lower end of the range printed on the ball itself.
Is 11 PSI good for a football?
Yes, 11 PSI (approx. 0.76 bar) is well within the legal range and is a common, sensible pressure for a Size 5 ball. It’s firm enough for good flight but not so hard that it compromises control or ball longevity.
How often should I check my football’s pressure?
Check it before every use if you’re serious about consistency. Check it before every use if you’re serious about consistency. All balls lose air slowly over time due to permeability, and temperature changes have a big effect. Storing the ball at a slightly reduced pressure, as Mitre suggests, can help prolong the life of the seams and bladder.
Before You Go
Forget the one perfect number. The right pressure is the one that matches the ball’s stamp, suits the conditions underfoot and overhead, and feels right when you strike it.
The single most useful habit you can build is the pre-session gauge check. It takes ten seconds and ends the arguments. Pair that with a bottle of glycerine for your valve, and you’ve covered ninety percent of pressure-related problems before they start. Everything else, the pro preferences, the cold-weather calculus, the choice between types of footballs, builds from that basic, measured certainty.
So, what’s your routine? Do you pump to the number, or to the feel?
